
To install Apache JMeter and conduct testing, follow these detailed steps:
1. Install Java Development Kit (JDK) :
JMeter requires Java to run. Ensure you have Java 8 or higher installed.
Steps:
- Windows/Linux/macOS:
java --versionIt should display the installed version.
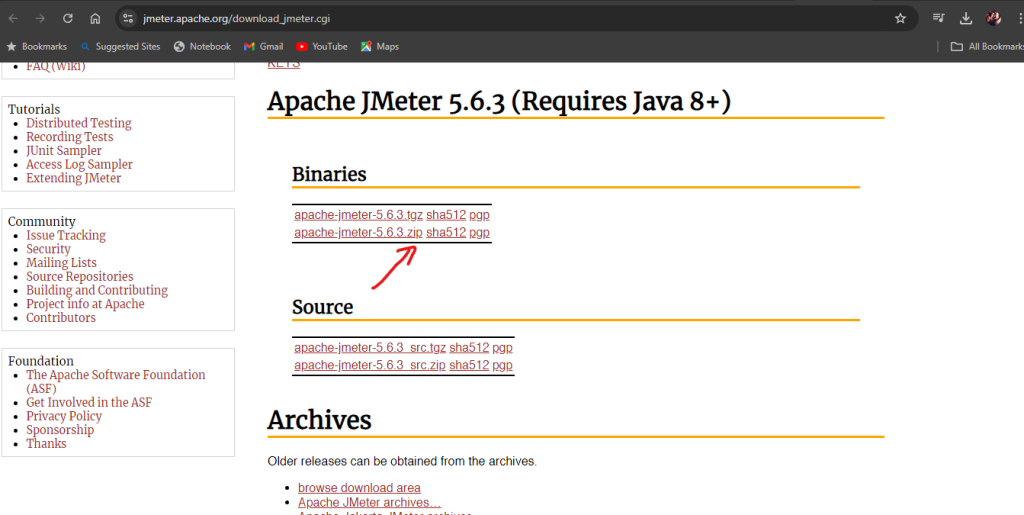
2. Download Apache JMeter :
- Go to the Apache JMeter download page.
- Navigate to the Binaries section and download the ZIP file for the latest version of JMeter.
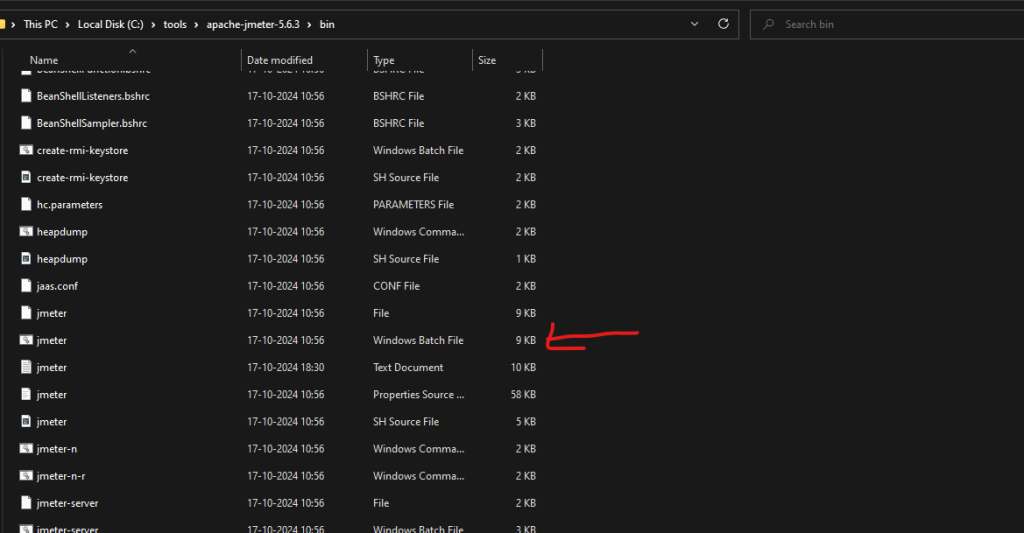
3. Extract and Setup into C:\tools
4. Copy all the jars from
- https://github.com/devopsschool-demo-labs-projects/jmeter-lib
into
- C:\tools\apache-jmeter-5.4\lib\ext
5. Run JMeter :
- Navigate to the
binfolder inside the extracted directory and runjmeter.bat(Windows) orjmeter.sh(Linux/Mac) to start JMeter.
Launch JMeter
- After starting JMeter, you will see its graphical user interface (GUI). The GUI consists of two main sections: the left pane for adding elements and the right pane for configuring them

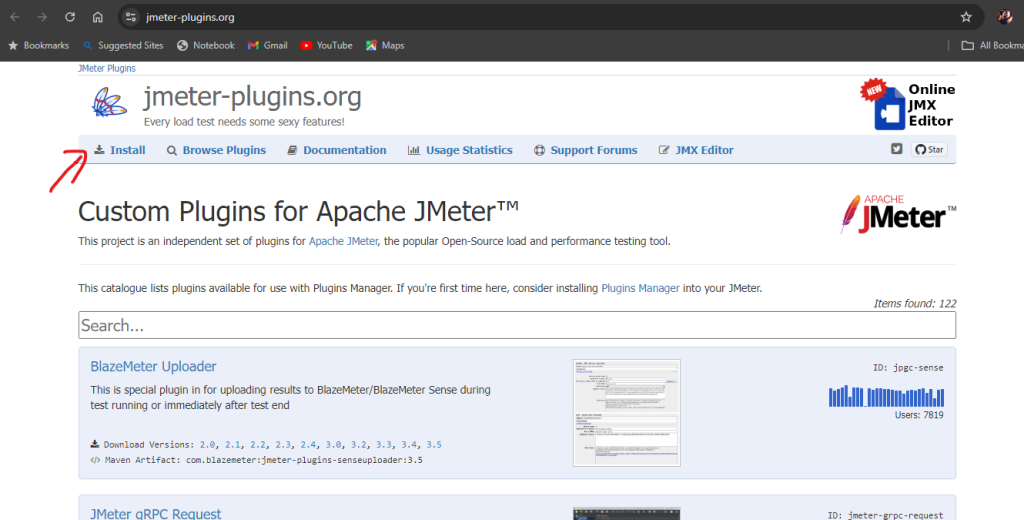
Plugins Installation:
- You can extend JMeter functionality using plugins by installing the JMeter Plugins Manager.
- Download and install the Plugins Manager from JMeter Plugins.
After installing, restart JMeter, and access it via Options → Plugins Manager.
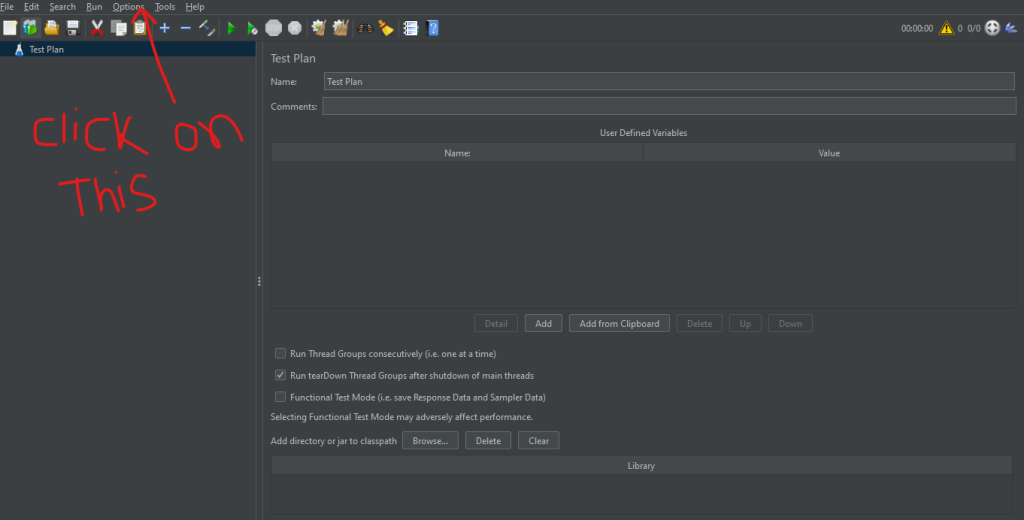
Plugins need to be installed :

Upgrades :
upgrades all plugins and click the apply changes and restart Jmeter.

Conclusion :
Following these steps will enable you to install and Apache JMeter effectively.