To install SonarQube using a Docker container, follow these steps:
- Install Docker Desktop: Ensure that Docker Desktop is installed and running on your Windows machine. You can download it from the Docker website.
- Verify Docker Installation: Open a command prompt and run:
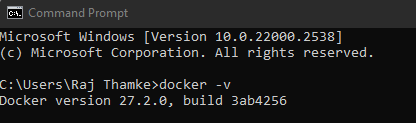
This should display the installed Docker version.
Installation Steps
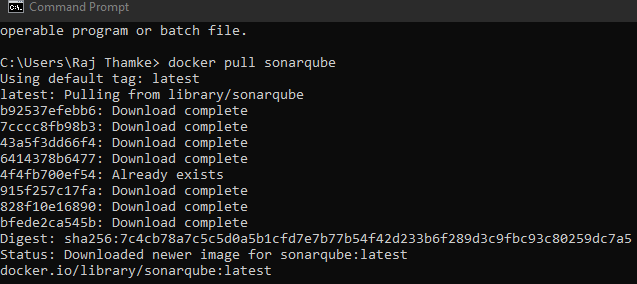
Pull the SonarQube Docker Image
Open a command prompt and pull the latest SonarQube image from Docker Hub:
Create a Docker container
Once the image is downloaded, run the following command to create a new Docker container for SonarQube:

This command will create a new Docker container named “sonarqube” and expose port 9000, which is the default port for accessing SonarQube.
Docker Volumes

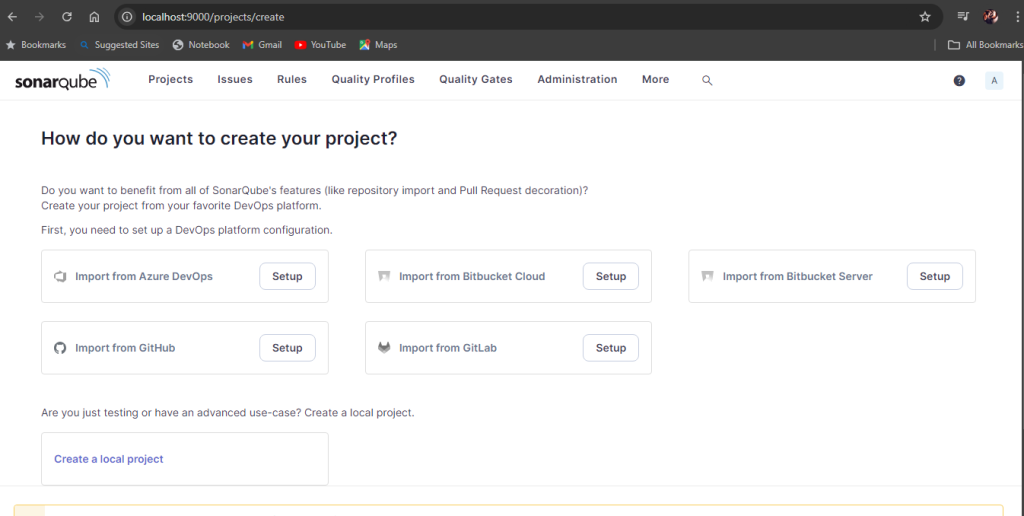
Access SonarQube:
After the container starts, you can access SonarQube by opening a web browser and navigating to http://localhost:9000. This will take you to the SonarQube web interface.
Note: If you are running Docker on a remote server or using a different port mapping, replace localhost:9000 with the appropriate IP address and port.
Log in to SonarQube: On the SonarQube login page, use the default credentials:
Username: admin
Password: admin
It is recommended to change the default password after logging in for the first time.
Verify Installation
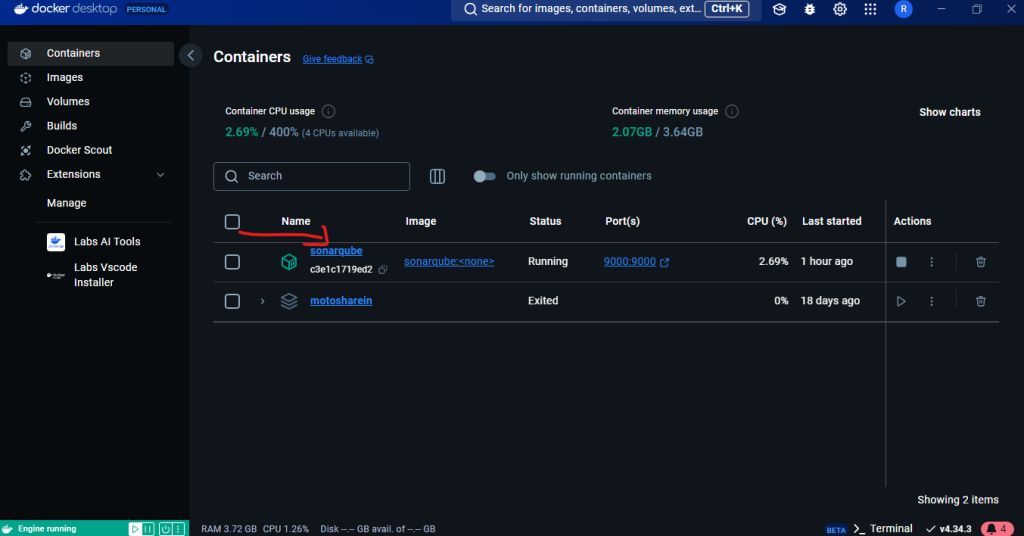
To check if your SonarQube container is running, use:

This will list all running containers, and you should see your SonarQube instance listed.
Conclusion
You have successfully installed SonarQube using a Docker container.