What is a Gradle

Gradle : Gradle is a powerful build automation tool primarily used for Java, Android, and JVM-based projects but is also adaptable to various other languages and platforms. It allows developers to automate tasks related to building, testing, deploying, and managing dependencies in projects.
Here’s a breakdown of its core features and benefits :
Build Automation :
Gradle automates repetitive tasks such as compiling code, running tests, packaging binaries, and deploying applications. This reduces the manual effort and potential for errors during software development.
Declarative Build Script :
Gradle uses a Groovy- or Kotlin-based Domain-Specific Language (DSL), allowing users to write build scripts in a clear, readable way. Developers define what to build and how without having to deal with low-level details.
Dependency Management :
Gradle makes it easy to manage dependencies (libraries and modules) by allowing developers to specify the dependencies they need. It integrates well with repositories like Maven Central, JCenter, and others, helping to automate downloading and integrating libraries.
Multi-Project Builds :
Gradle is ideal for projects with multiple modules or sub-projects, allowing complex projects to be organized in a hierarchical structure. Dependencies and tasks between projects can be easily managed, reducing build time and effort.
Flexible and Extensible :
With plugins, custom tasks, and a versatile scripting language, Gradle can be tailored to fit a wide range of projects. Plugins provide additional functionality, like support for Java or Android, or enable specific integrations, such as those with Docker or Kubernetes.
Incremental Builds :
Gradle supports incremental builds, which means it only rebuilds parts of the project that have changed, instead of recompiling everything. This significantly speeds up build times.
Build Caching and Daemon Mode :
Build Cache: Gradle can cache outputs from previous builds and reuse them, making builds faster by avoiding redundant work.
Daemon Mode: Gradle can run a background process (Daemon) that keeps build information in memory, further improving build speed by reusing resources.
Continuous Integration Friendly :
Gradle is well-suited for Continuous Integration (CI) and Continuous Deployment (CD) environments, as it supports parallel builds, distributed builds, and integration with CI/CD tools like Jenkins, GitLab CI, and GitHub Actions.
Wide Language Support :
Although widely used with Java and Android, Gradle also supports other languages, including Kotlin, Groovy, Scala, C/C++, and JavaScript, among others.
Plugin Ecosystem :
Gradle has an extensive plugin ecosystem that allows developers to extend Gradle’s capabilities. Popular plugins include those for Spring Boot, Docker, testing frameworks, and database migrations.
Step 1: Install Java Development Kit (JDK)
Download and Install JDK: Go to the Oracle JDK download page and download the latest version.
Set JAVA_HOME Environment Variable:
- Right-click on This PC > Properties > Advanced system settings > Environment Variables.
- Under System variables, click New and set
JAVA_HOMEto the path of your JDK installation (e.g.,C:\Program Files\Java\jdk-23). - Add
%JAVA_HOME%\binto thePathenvironment variable.


Step 2: Install Gradle
Download Gradle: Go to the Gradle download page and download the latest binary zip archive (e.g., gradle-8.11-bin.zip).

Extract Gradle: Extract the downloaded zip file to a directory.
Set GRADLE_HOME Environment Variable:
- Right-click on This PC > Properties > Advanced system settings > Environment Variables.
- Under System variables, click New and set
GRADLE_HOMEto the path of the Gradle directory. - Add
%GRADLE_HOME%\binto thePathenvironment variable.


Step 3: Verify Installation
- Open Command Prompt: Press
Win + R, typecmd, and press Enter. - Check Gradle Version: Run the following command to verify that Gradle is installed correctly.
Step 4: Create a Gradle Project
- Open Command Prompt: Navigate to the directory where you want to create your project.
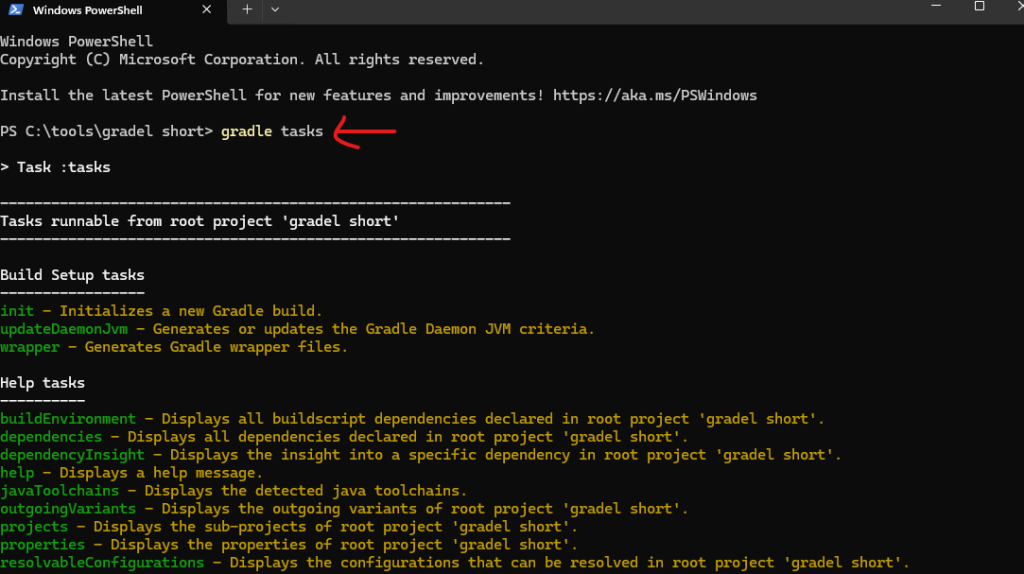
- Initialize a New Gradle Project: Run the following command to create a sample project
Step 1: Generate the Project Directory and File:
- Open a terminal or command prompt.
- Create a new directory for your project (e.g.,
gradle-short). - Inside the directory, create a file named
build.gradle.
Step 2: Write the Build Script:
task helloWorld {
doLast {
println “Hello, World!”
}
}
Step 3: Run the Task:
- In the terminal, navigate to your project directory (
gradle-short). - Run the
gradle helloWorldcommand.
Step 4: See the Result:
- If everything is configured correctly, you should see “Hello, World!” printed in the terminal.
Congratulations! You’ve built your first Gradle project and executed a task!
