Step 1: Prepare Your Workspace
Before you begin, ensure your Flutter project is set up correctly. Open your terminal and navigate to your project directory. Run the following command to clean any existing build artifacts:
flutter clean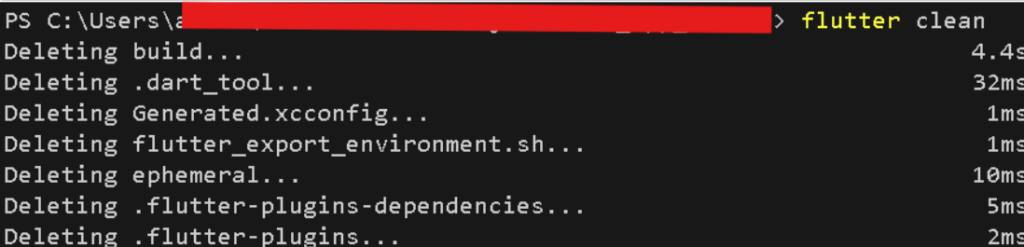
Step 2: Update Dependencies
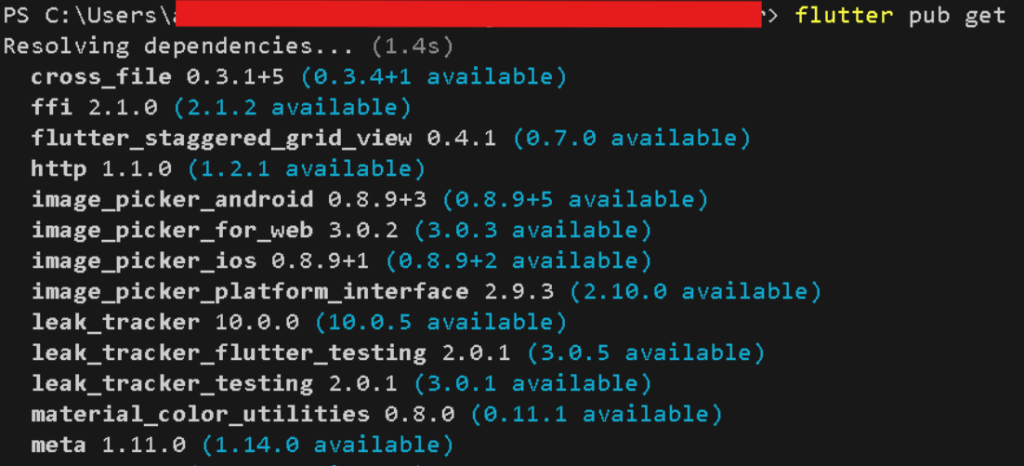
Next, make sure all dependencies are up to date by running:
flutter pub get
Step 3: Generate APK or App Bundle
Now, it’s time to generate either an APK or an App Bundle. In your terminal, execute the following command:
flutter build apk --target-platform android-arm,android-arm64 --split-per-abi

This command will generate both ARM and ARM64 APKs, optimizing your app for different Android device architectures.
Step 4: Open Android Module in Android Studio

To proceed, open your Flutter project in Android Studio. Navigate to Tools > Flutter > Open Android module in Android Studio. This step is crucial for further configuration and signing of your app.
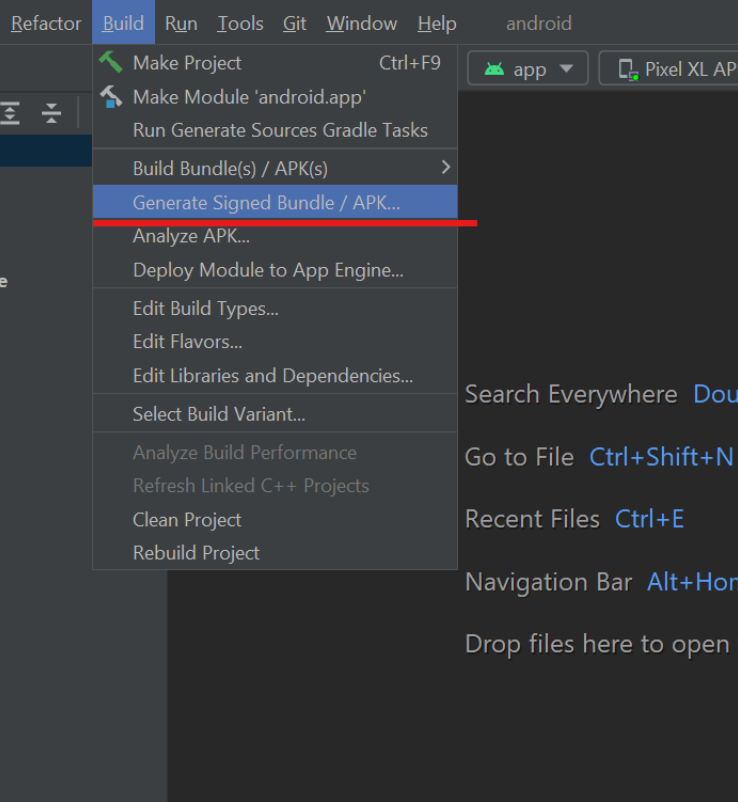
Step 5: Generate Signed Bundle/APK
Once in Android Studio, navigate to the ‘Build’ menu in the navigation bar. From there, select ‘Generate signed bundle/apk.’ This will initiate the process of creating a signed release of your app.
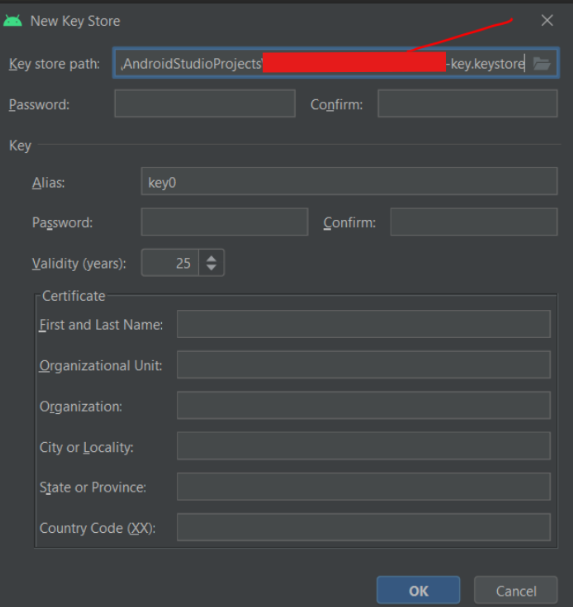
Step 6: Choose or Create a Key Store
If you haven’t already created a keystore, you’ll need to do so now. Follow the prompts to choose a location for your key store and set a password. If you’ve already created a keystore, select ‘Choose existing’ and navigate to its location.

Step 7: Build and Sign Your App
With your keystore selected, proceed to build and sign your app. Android Studio will handle the necessary tasks, ensuring your app is securely signed for distribution.

Step 8: Monitor Gradle Build Progress
Throughout this process, keep an eye on the Gradle Build running in the bottom right corner of Android Studio. This will provide real-time feedback on the build progress.
Step 9: Locate Your Released App
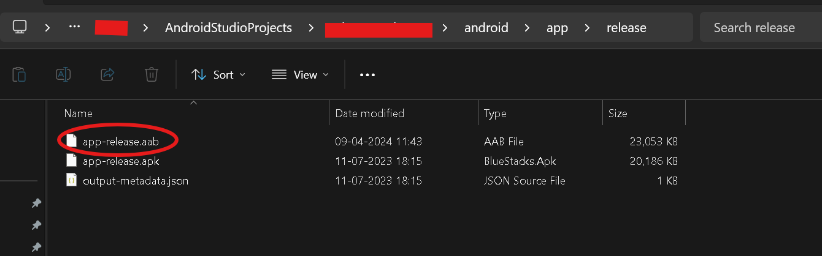
Once the build is complete, you’ll find your signed release APK or App Bundle located in the designated output directory. Typically, this will be in the ‘release’ folder of your Android app module.
Step 10: Upload to Google Play Console
