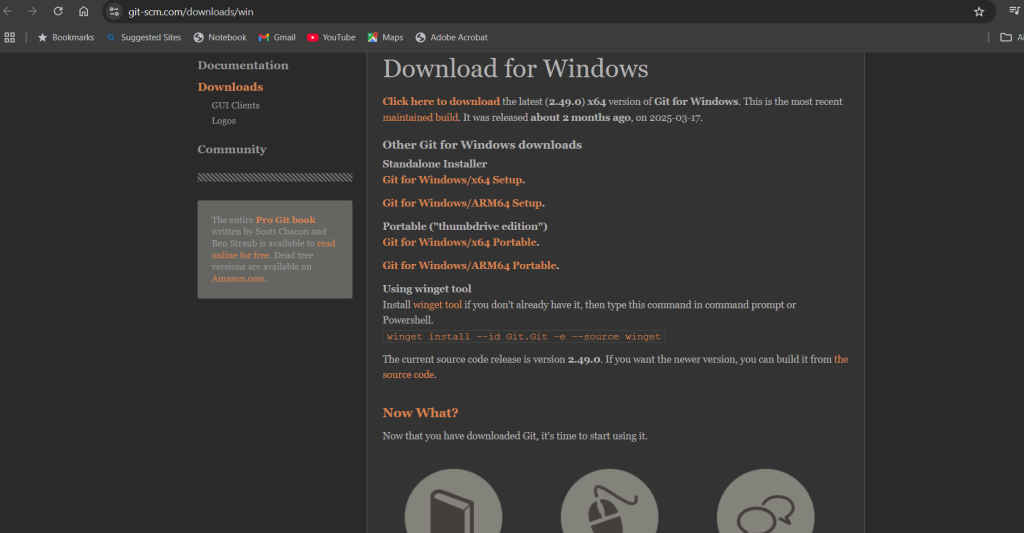
Step 1: Go to the Official Git Website
- Open your web browser (etc, Chrome or Edge).
- Go to the official Git website:
👉 https://git-scm.com/
Step 2: Download Git for Windows
- On the homepage, it should detect your OS automatically.
- Click the “Download for Windows” button.
( it shows something likeDownload 64-bit Git for Windows Setup)

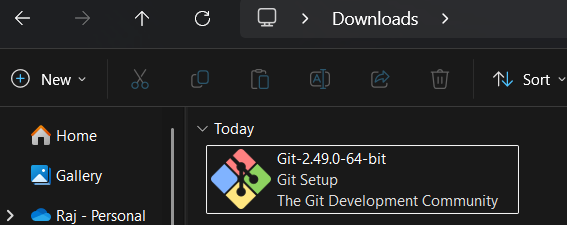
Step 3: Run the Git Installer
- Once downloaded, find the file (usually in your Downloads folder).
- Double-click the
.exefile to start the installation.
Step 4: Setup – Installation Wizard
Follow these wizard steps. You can leave most settings as default unless you want something specific:
1. Select Components
- Leave default checked. Click Next.
2. Choosing the default editor
- You can select Visual Studio Code (recommended), Notepad, or another if needed.
3. Adjusting the PATH environment
- Choose:
Git from the command line and also from 3rd-party software
(This is the most flexible option.)
4. Choosing HTTPS transport backend
- Select:
Use the OpenSSL library(default)
5. Choosing the line ending conversions
- Leave as default:
Checkout Windows-style, commit Unix-style line endings
6. Terminal emulator to use
- Choose:
Use MinTTY(default Git Bash terminal)
7. Default Git behavior
- Leave as default or tweak according to preference.
Click Next through remaining steps until you reach Install.
Step 5: Wait for Installation to Finish
- It may take a minute or two.
- Once done, click Finish.
You can optionally launch Git Bash right away.
Step 6: Verify Git Installation
- Open Start Menu → Search Git Bash → Open it.
- Type the following command:
git --versionYou should see something like:
git version 2.48.1.windows.1
🎉Git is now installed on your Windows 11 system!